• Call: +1 (858) 429-9131

Posts Tagged ‘Cross-platform software’

Install Magento2 in Nginx Server Using Command Line

Magento-2-Banner


Installing magento2 in Ubuntu 14.04 with Nginx web server.

Prerequisites:

 1.PHP:

Version 5.5.X or more

Required PHP extensions:

PDO/MySQL

mbstring

mcrypt

mhash

simplexml

curl

ext-xsl

gd2, ImageMagick 6.3.7 (or later) or both

soap

intl

2.Mysql 5.6.X

3.Nginx.

 Create basic nginx configuration file for magento2.

# vim /etc/nginx/sites-available/magantositename

Add the following configuration files in nginx,


##########################

server {

listen 80;

 root /var/www/magento2; #Use you mangeto2 location

index index.php index.html index.htm;

 server_name yuor_magento.siteurl;

#location / {

#try_files $uri $uri/ /index.php?q=$uri&$args;

#}

   location /setup {

       try_files $uri $uri/ @setuphandler;

   }

# Rewrite Setup’s Internal Requests

   location @setuphandler {

       rewrite /setup /setup/index.php;

   }

    location / {

       index index.php index.html;

       try_files $uri $uri/ @handler;

   }

    # Rewrite Internal Requests

    location @handler {

       rewrite / /index.php;

    }

     location /pub/static {

         try_files $uri $uri/ @static;

    }

     location @static {

          rewrite ^/pub/static/(.*)$ /pub/static.php?resource=$1? last;

    }

 error_page 404 /404.html;

 error_page 500 502 503 504 /50x.html;

location = /50x.html {

root /usr/share/nginx/www;

}

#pass the PHP scripts to f stcgi socket

location ~ \.php$ {

               try_files $uri =404;

               fastcgi_pass unix:/var/run/php5-fpm.sock;

               fastcgi_index index.php;

               fastcgi_param SCRIPT_FILENAME $document_root$fastcgi_script_name;

               include fastcgi_params;

               fastcgi_read_timeout 900s;

#Magento 2 Developer Mode

               fastcgi_param MAGE_MODE “developer”;

      } 

}


#########################


create a symlink in /etc/nginx/sites-enable/magantositename

 # ln -s /etc/nginx/sites-available/magantositename /etc/nginx/sites-enable/magantositename


Restart PHP handler php5-fpm and nginx

 #  service php5-fpm restart

 # service nginx restart 

Create database and database user for magento2

login to mysql using root user and password:

#  mysql -u root -p

## mysql> CREATE DATABASE <magentodbname>;

## mysql>  GRANT ALL ON <magentodbname>.* FROM magentodb@localhost IDENTIFIED BY <magentodbpasswd>;


Steps to install Magento2

 Change the directory where to download and install Magento2.

 # cd /var/www/

 Download the magento2 zip file from github

 # wget https://github.com/magento/magento2/archive/develop.zip

 # unzip develop.zip

# mv magento2-develop magento2

 Change the ownership to your webserver user name. Typically it is www-data

 # chown -R www-data:www-data magento2

 # cd magento2

Change the permissions as follows,

 # find . -type d -exec chmod 700 {} \;

# find . -type f -exec chmod 600 {} \;

make the file magento file executable  in the directory bin

# chmod +x bin/magento

Install magento using command line,

# ./bin/magento setup:install –base-url “http://your_site_url/” –db-name “magentodbname” –db-user “magentodb” –db-password “magentodbpasswd” –admin-firstname “yourname” –admin-lastname “yourlastname” –admin-email “your_email” –admin-user “magenoadmi” –admin-password “magentoadminpasswd” –language “en_US” –currency “USD” –timezone “America/Chicago” –use-sample-data –use-rewrites=1


Here you will get your Language, Currency and Time zone using the following magento command.

Language:

# ./bim/magento info:language:list

Currency:

# ./bim/magento info:currency:list

Time Zone:

# ./bim/php magento info:timezone:list

 Once the installation is completed you will get the SUCCESS message at the end of installation.

You can access the magento admin interface using the random  generated URL while installing Magento2.

You can check the URL using magento command line.

# ./bin/magento info:adminuri

 You will get the admin URI as,

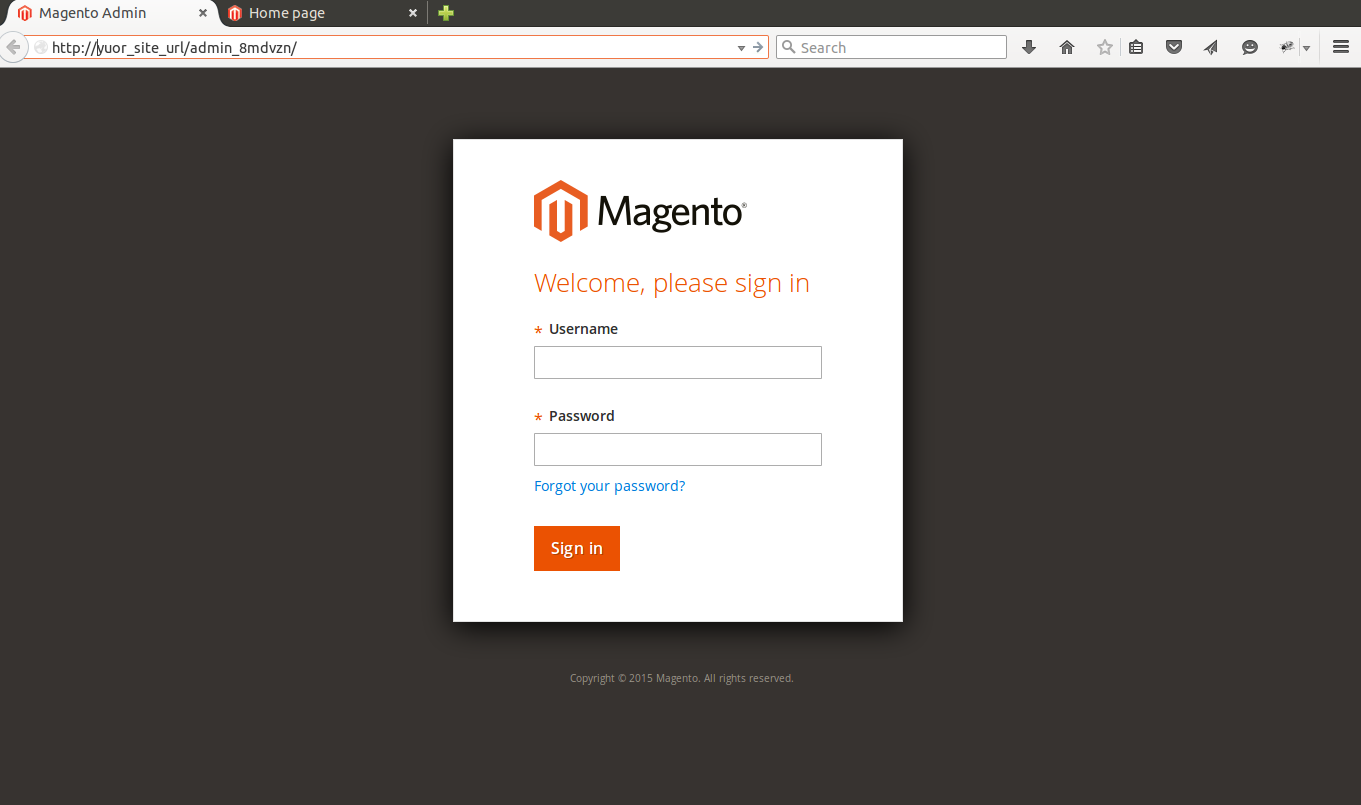
Admin URI: /admin_8mdvzn

You can  change the the Admin URI in <your Magento install dir>/app/etc/env.php.

Then you can access admin page as http://yuor_site_url/admin_8mdvzn/


magento-admin


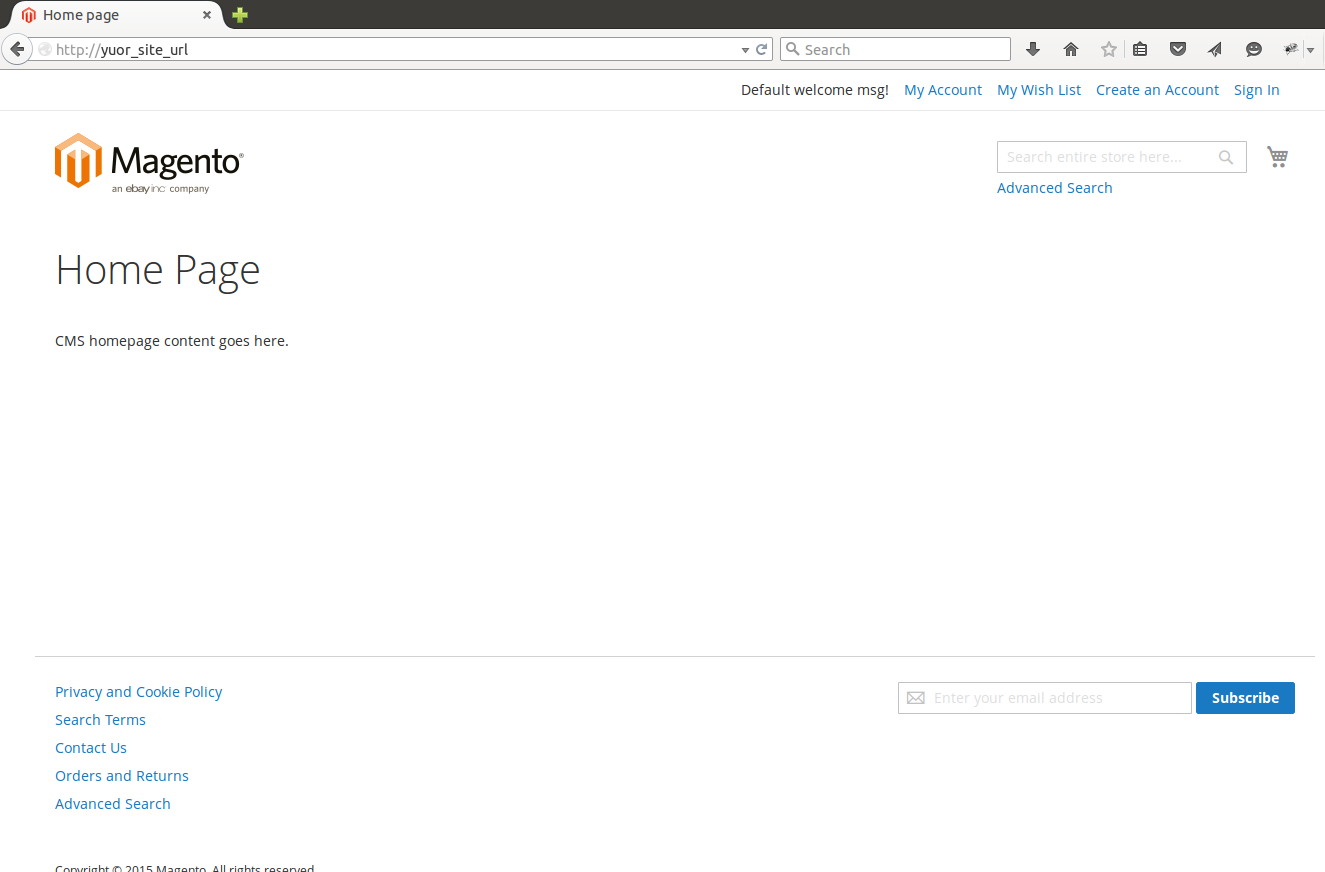
You can access the magento2 home page at the installed URL as http://yuor_site_url.

It will look as below,

magento-2-home


Apache on the Cloud – The things you should know

    LAMP forms the base of most web applications.  As the load on an server increases, the bottlenecks in the underlying infrastructure become more apparent in the form of slow response to user requests.

     To overcome this slow response  the primary choice of most people is to add more hardware resources ( incase of AWS increasing the instance type). This will definitely  increases performance but will cost you more money.  The webserver and database eat most of the resources. Most commonly used web server is apache and database is MySQL. So if we can optimize these two we can improve the performance.

   Apache optimization techniques can often provide significant acceleration boosts  even when other acceleration techniques are in use, such as a CDN.  mod_pagespeed is a module from Google for Apache HTTP Servers that can improve the page load times of your website. you can read more on this from here.  If you want to deploy a PHP app on AWS Cloud, Its better to using some kind of caching mechanism.  Its already discussed in our blog .

      Once we came into a situation where we have to use a micro instance for a web server with less than 500 hits a day

      When the site started running live, and we feel like disappointed. when accessing website, it would sometimes pause for several seconds before serving the requested page. It took  hours to figure out what was going on. finally we run the command top and quickly discovered that when the site was accessing by certain amount of users the CPU would spike, but the spike was not the typical user or system CPU. For testing what’s happening in  server we used the apache benchmark tool ‘ab’ and run the following command on  localhost.

                                             #ab -n 100 -c 10 http://mywebserver.com/

      This will show  how fast our web server can handle 100 requests, with a maximum of 10 requests running concurrently. In the meantime we were monitoring the output of top command on web server.

     For further investigation we started with  sar – Linux command to  Collect, report, or save system activity information

  #sar 1

      According to amazon documentation “Micro instances (t1.micro) provide a small amount of consistent CPU resources and allow you to increase CPU capacity in short bursts when additional cycles are available”.

       If you use 100% CPU for more than a few minutes, Amazon will “steal” CPU time from the instance, meaning that they throttle your instance.  This last  as long as five minutes, and then you get a few seconds of 100% again, then the restrictions are back.  This will effect your website, making it slow, and even timing-out requests. basically means the physical hardware is busy and the hypervisor can’t give the VM the amount of CPU cycles it wants.

   Real tuning required on prefork. This is where we can tell apache to only generate so many processes. The defaults values  are high, and which cant be handled by micro instance. Suppose you get 10 concurrent requests for a php page and require around 64MB of RAM when requested (you have to make sure that  php memory_limit is above that value). That’s around 640MB of RAM on micro instance of 613MB RAM.  This is the case  with 10 connections – apache is configured to allow 256 clients by default,  We need to  scale these down , normally with 10-12 MaxClients. As per out case, this is still a huge number because 10-12 concurrent connections would use all our memory. If you want to be really cautious, make sure that your max memory usage is less than 613MB. Something like 64M php memory limit and 8 max clients keeps you under your limit with space to spare – this helps ensure that our MySQL process when your server is under load.

           Maxclients an important tuning parameter regarding the performance of the Apache web server. We can calculate the value of this for a t1.micro instance

Theoretically,

MaxClients =(Total Memory – Operating System Memory – MySQL memory) / Size Per Apache process.

t1.micro have a server with 613MB of Total memory. Suppose We are using RDS instead of mysql server.

Stop apache and run

#ps aux | awk ‘{sum1 +=$4}; END {print sum1}’.

 we will get the amount of memory thats used by processes other than apache.

Suppose we get a value around 30.

from top command we can check the average memory that each apache resources use.

suppose its 60mb.

Max clients = (613 – 30 ) 60 = 9.71 ~ 10 approx …

       Micro instances are awesome, especially when cost becomes a major concern, however that they are not right for all applications. A simple website with only a few hundreds  hits a day will do just fine since it will only need CPU in short bursts.

      For Servers that serves dynamic content, better approach is to employ a reverse-proxy. This would be done this apache’s mod_proxy or Squid. The main advantages of this configurations are content caching, load balancing etc. Easy method is to use mod_proxy and the ProxyPass directive to pass content to another server. mod_proxy supports a degree of caching that can offer a significant performance boost. But another advantage is that since the proxy server and the web server are likely to have a very fast interconnect, the web server can quickly serve up large content, freeing up a apache process, why the proxy slowly feeds out the content to clients

If you are using ubuntu, you can enable module by

                                        #a2enmod proxy

                                        #a2enmod proxy_http    

and in apache2.conf

                                         ProxyPass  /  http://192.168.1.46/

                                         ProxyPassReverse  /   http://192.168.1.46/

         The ProxyPassreverse directive captures the responses from the web server and masks the URL as it would be directly responded by the Apache  hiding the identity/location of the web server. This is a good security practice, since the attacker won’t be able to know the ip of our web server.

      Caching with Apache2 is another important consideration.  We can configure apache  to set the Expires HTTP header, max-age directive of the Cache-Control HTTP header of static files ,such as images, CSS and JS files, to a date in the future so that these files will be cached by your visitors browsers. This saves bandwidth and makes web site appear faster if a user visits your site for a second time, static files will be fetched from the browser cache

                                      #a2enmod expires

  edit  /etc/apache2/sites-available/default

  <IfModule mod_expires.c>
               ExpiresActive On
               ExpiresByType image/gif “access plus 4 weeks”
               ExpiresByType image/jpg “access plus 4 weeks”

</IfModule>

This would tell browsers to cache .jpg, .gif  files for four week.

       If your server requires a large amount of read / write operations, you might consider provisioned IOPS ebs volumes on your server. This is really effective if you use database server on ec2 instances.  we can use iostat on the command line to take a look at your read/sec and write/sec. You can also use CloudWatch metrics to determine read and write operations.

       Once we move to the security side of apache, our major concern is DDos attacks. If a server is under a DDoS attack, it is quite difficult to detect the attack before the damage is done.  Attack packets usually have spoofed source IP addresses. Hence, it is more difficult to trace them back to their real source. The limit on the number of simultaneous requests that will be served by Apache is decided by the MaxClients directive, and is set to safe limit, by default. Any connection attempts over this limit will normally be queued up.

     If you want to protect your apache against DOS,  DDOS attacks use mod_evasive module.  This module is designed specifically as a remedy for Apache DoS attacks. This module will allow you to specify a maximum number of requests executed by the same IP address. If the limit is reached, the IP address is blacklisted for the time period you specify.

PHP Caching : The way to speed up PHP sites.

     There are many sites which  is built in PHP. PHP provides the power to simply ‘pull’ content from an external source.   it could just as easily be an MySQL database or an XML file etc.

    The downside to this is processing time, each request for one page can trigger multiple database queries, processing of the output, and formatting it for display. This can be quite slow on complex sites (or slower servers).  Dynamic sites probably have very little changing content, this page will almost never be updated after the day it is written. Each time someone requests it the scripts goes and fetches the content, applies various functions and filters to it, then outputs it to you

       This is where caching can help us out, instead of regenerating the page every time, the scripts running this site generate it the first time they’re asked to, then store a copy of what they send back to your browser. The next time a visitor requests the same page, the script will know it’d already generated one recently, and simply send that to the browser without all the hassle of re-running database queries or searches.

Different Caching mechanism are discussed below.

APC

      APC stands for Alternative PHP Cache, and is a free and open opcode cache for PHP. It provides a robust framework for caching and optimizing PHP performance. APC also provides a user cache for storing application data. APC for caches that do not change often and will not grow too big to avoid fragmentation. The default setting of APC will allow you to store 32 MiB for the opcode cache and the user cache combined

Installing apc on ubuntu

#apt-get install php-apc

edit  apc.ini   ; default location on new php5 is –> /etc/php5/conf.d/20-apc.ini

extension = apc.so;  uncomment this line   
apc.shm_segments=1;   ( by default its enabled .. give 0 to disable)

you can customize your values here. for getting the default values install php5-cli and from command line run

#php -i | grep apc

For monitoring apc cache hits and miss, apc providing a php script. which is located at /usr/share/doc/php-apc/apc.php. Copy this file to your document root and you will be able to monitor your apc status.

http://localhost/apc.php

for performance benchmarking we created two php files

test1.php

<?php 
         $start = microtime(true);
         for ($i = 0; $i < 500000; $i++)
             {
                include('test_include.php');
             }
         $end = microtime(true);          echo "Start: " . $start . "<br />";
         echo "End: " . $end . "<br />";
         echo "Diff: ". ($end-$start) . "<br />";
?>

test2.php

<?php
          $t =    "migrate2cloud";
 ?>

Without apc…

Start: 1360937874.8965 
End: 1360937883.1506 
Diff: 8.2541239261627

With apc..

Start: 1360937935.5746 
End: 1360937936.7291 
Diff: 1.1545231342316

 without apc it took 8 seconds to complete the request .. with apc.. 1.15 seconds..

Memcached

        Memcached system uses a client–server architecture. The servers maintain a key–value associative array; the clients populate this array and query it. Keys are up to 250 bytes long and values can be at most 1 megabyte in size. Clients use client-side libraries to contact the servers which, by default, expose their service at port 11211. Amazon provides a Service called Amazon elasticache for memcache through which we can configure memcache clusters for caching purposes.

installation and configuration

apt-get install memcached 
apt-get install php5-memcached

enable memcache module in /etc/php5/apache2/conf.d/20-memcached.ini  or in php.ini

edit php.ini 
session.save_handler = memcached 
extension=memcache.so
extension=memcached.so

Restart apache and memcache..

php script used for memcache testing..

 
<?php
//memcached simple test  
$memcache = new Memcache;
$memcache->connect('localhost', 11211) or die ("Could not connect");
$key = md5('42data');  //something unique  
for ($k=0; $k<5; $k++) {
$data = $memcache->get($key);
    if ($data == NULL) {
       $data = array();
       //generate an array of random shit  
       echo "expensive query";
       for ($i=0; $i<100; $i++) {
           for ($j=0; $j<10; $j++) {
               $data[$i][$j] = 42;  //who cares  
           }
       }
       $memcache->set($key,$data,0,3600);
    } else 
 {
       echo "cached";
    }  } 

You can monitor memcache using phpmemcacheadmin

http://code.google.com/p/phpmemcacheadmin/

Varnish – Cache

Varnish has a concept of “backend” or “origin” servers. A backend server is the server providing the content Varnish will accelerate. Our first task is to tell Varnish where it can find its content. open the varnish default configuration file. Iif you installed from a package it is probably /etc/varnish/default.vcl.

Somewhere in the top there will be a section that looks a bit like this.:

backend default { .host = "127.0.0.1"; .port = "80"; }

Change the port number to your apache ( or whatever the webserver you are using) port number.

this piece of configuration defines a backend in Varnish called default. When Varnish needs to get content from this backend it will connect to port 80 on localhost (127.0.0.1).

# varnishd -f /etc/varnish/default.vcl -s malloc,1G -T 127.0.0.1:2000 -a 0.0.0.0:80

The -f options specifies what configuration varnishd should use.

The -s options chooses the storage type Varnish should use for storing its content

-T 127.0.0.1:2000 — Varnish has a built-in text-based administration interface

-a 0.0.0.0:80 — specify that I want Varnish to listen on port 80

For logging varnish — In terminal window you started varnish type varnishlog

When someone accessing your page you will get log like

#varnishlog
11 SessionOpen c 127.0.0.1 58912 0.0.0.0:80 
11 ReqStart c 127.0.0.1 58912 595005213 
11 RxRequest c GET 
11 RxURL c / 
11 RxProtocol c HTTP/1.1 
11 RxHeader c Host: localhost:80
11 RxHeader c Connection: keep-alive

Where not to use Caching

          Caching should not be used for some things like search results, forums etc… where the content has to be upto the times and changes depending on user’s input. It’s also advisable to avoid using this method for things like a Flash news page, in general dont use it on any page that you wouldn’t want the end users browser or proxy to cache.

How to configure Memcached on AWS EC2: A Starter’s Guide

Memached is a high-performance, distributed memory object caching system, generic in nature, but intended for use in speeding up dynamic web applications by alleviating database load and session management. Lets focus on session management first and build up a caching daemon to store PHP sessions in a load balanced environment.  In this post I will explain how you can easily install it and make it available in LAMP. Read more…